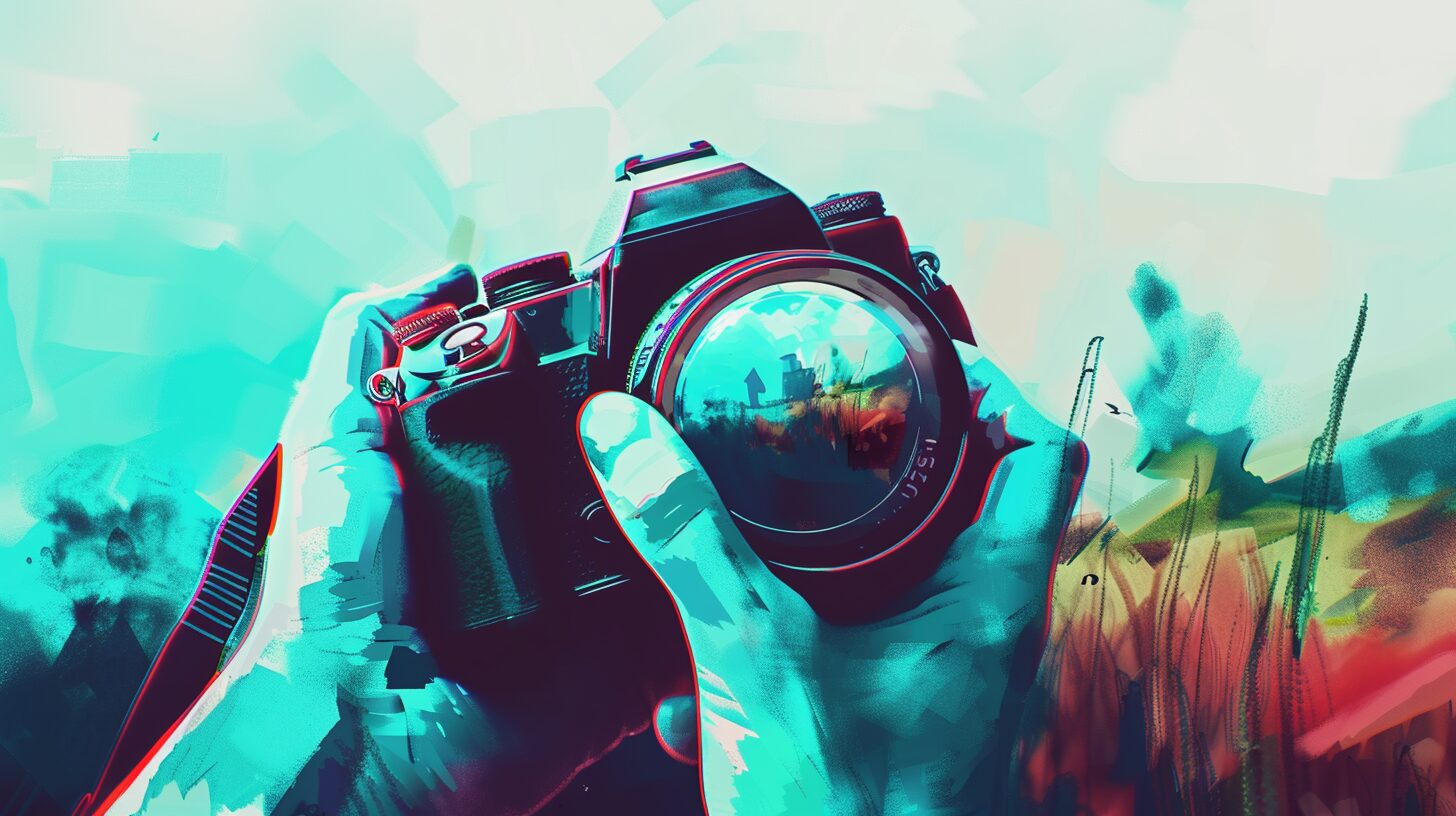


Every photographer has seen color artifacts in their images at least once. Why is it happening? More importantly, how do they fix it? The answer to both questions is simple. This effect has several common causes. Luckily, multiple solutions exist. Here’s how to fix chromatic aberration.
What Is Chromatic Aberration?
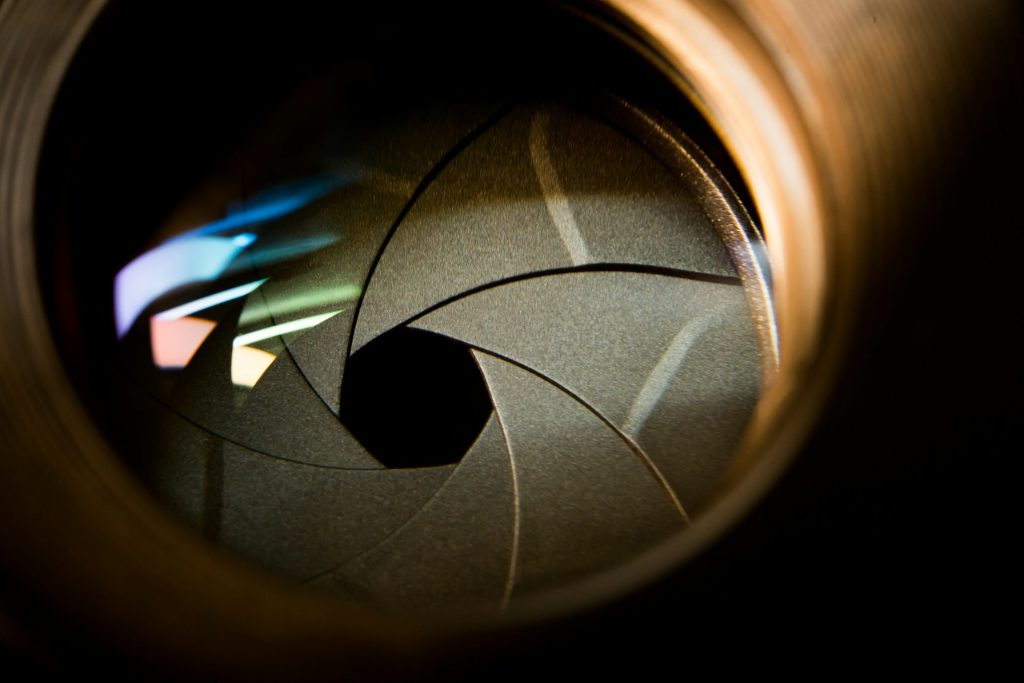
Chromatic aberration — also known as color fringing — is a type of color artifact. Basically, it is a localized area in a digital image where hues distort. It usually looks like a hard border or a hazy halo of red, green, cyan, yellow, purple, or magenta. While it isn’t typically visible to the untrained eye, it’s noticeable when zooming in on objects’ edges.
While photographers sometimes intentionally add chromatic aberration to their images for artistic reasons, it happens unintentionally more often than not. Due to the way light works and lenses are made, every camera is susceptible to it. While that fact may sound disheartening, it should feel uplifting. Color fringing isn’t a skill issue — it just happens.
When a camera’s lens fails to refract different wavelengths of visible light — meaning colors — onto the same point, chromatic aberration occurs. Put simply, those wavelengths are supposed to converge. Sometimes, they trail behind each other or are off-center. Typically, this effect is only visible around the object’s or image’s borders.
What Causes Chromatic Aberration?
In digital cameras, when light passes through the lens, it focuses on a sensor’s light-receptive surface — this is called the focal plane. Since wavelengths travel at various speeds, they sometimes hit irregularly at different points on the focal plane, making individual colors more visible than others. Multiple factors can amplify this effect.
High Contrast
Chromatic aberration is more likely in high-contrast or brightly lit areas where colors harshly transition from light to dark. These artifacts are also more noticeable on metallic and glass surfaces where light reflects more visibly.
Too-Wide Aperture
Photographers often use wide apertures like f/1.4 for low-light conditions because it allows more light through. Unfortunately, it contributes to color distortions because the waves have too much space to focus precisely. A narrower aperture is less likely to cause chromatic aberrations.
Asymmetrical Composition
User error is also a common cause. Some types of chromatic aberration — more on this later — only appear at an image’s edges. Photographers who place their subject off-center are more likely to see it occur.
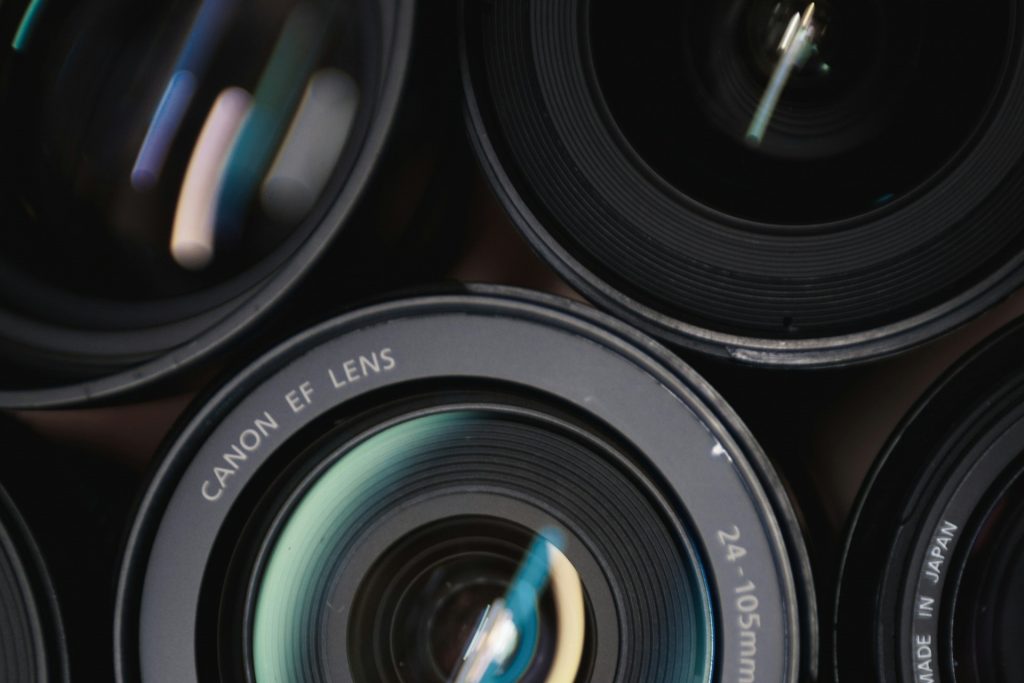
A Defective Lens
While specific conditions can cause these distortions, a cheap camera may also be the cause. Lens defects worsen the issue because they amplify irregularities. Light traveling through an imperfect lens has a higher chance of failing to refract correctly, causing color fringing.
Types of Chromatic Aberration
Two types of chromatic aberration exist. The first is longitudinal — also known as axial — chromatic aberration. It happens when wavelengths hit the focal plane in front of or behind each other, causing a failure to converge. It can occur anywhere in an image, not just at the edges.
The second type is lateral — also known as transverse — chromatic aberration. It happens when wavelengths hit the focal plane at different points alongside each other. It only occurs at the edges, not in the center.
While photographers can easily remove either type, they should be mindful of hues when learning how to fix chromatic aberration. Adjusting the color can cause unwanted desaturation, which might be more noticeable than the original issue.
How to Remove Chromatic Aberration in Lightroom
Two methods of fixing chromatic aberration in Lightroom exist. According to Adobe, while the first is ideal for red/green and blue/yellow fringes, the second is best for purple/magenta or green. Here’s how to fix chromatic aberration in Adobe Lightroom.
1. The Automatic Removal Method
Lightroom users must open the Develop Module to access the Histogram panel on the right side of their screen. Under the Lens Corrections tab is the Profile section, they need to check the “Remove Chromatic Aberration” box to automatically fix color fringing and the “Enable Profile Corrections” to offset further distortions.
2. The Manual Removal Method
Alternatively, Lightroom users can navigate to the Manual section in the Lens Corrections tab to access the defringing sliders — the purple and green hue sliders. Once they click the eyedropper tool and select the chromatic aberration in question, they must drag the thumb until they can no longer see color artifacts.

How to Remove Chromatic Aberration in Photoshop
Technically, there are dozens of ways to remove chromatic aberration in Photoshop since the tool is so versatile. However, the easiest method — the go-to for many photographers — is to duplicate the background, blur the image, change the blending mode, and brush away fringes. Here’s how to fix chromatic aberration in Photoshop.
1. The Four-Step Solution
Photoshop users should start by right-clicking the background layer and choosing Duplicate Layer to preserve their original image and more easily reverse mistakes. Then, they click the Filter tab up top, hover over Blur, and select Gaussian Blur. They should set it anywhere from 5-12, depending on how noticeable the color fringing is.
In the right-hand menu, they must change the blending mode to Color and add a layer mask to prevent unwanted changes. When they have it selected, they need to click on a soft-edged brush — one of the over 1,000 default options — in the left-hand toolbar. Brushing the color artifacts removes them. When they finish, they should select “Apply the Mask.”
How to Remove Chromatic Aberration in Camera Raw
Since Adobe Camera Raw is a plugin, its methods for fixing chromatic aberration are similar to those of Photoshop and Lightroom. Here’s how to fix chromatic aberration in Adobe Camera Raw.
1. The Automatic Removal Method
Under the Color tab in the Lens Correction panel, Camera Raw users must select the “Remove Chromatic Aberration” checkbox to automatically correct blue-yellow or red-green fringes. While this tool is automatic, it may not be precise. Moreover, it can desaturate the areas around color artifacts. To compensate, users should leverage manual color tweaks.
2. The Manual Removal Method
Adjusting the purple and green sliders in the Lens Correction panel can also correct color fringing. The higher Camera Raw users put it, the stronger the defringing effect is. If they hold the Alt or Option key while they adjust the slider’s thumb, they can visualize how their color correction will affect their image.
3. The Color Range Method
Camera Raw users can use the Color Range method by clicking Masking, choosing Objects, and using a brush to select the area they want to focus on. They should strongly consider refining the mask to limit their edits. Otherwise, they may cause various unwanted changes later on while adjusting colors.
Using shift-click, they can add five color samples to edit. Here, they can combine exposure, highlights, saturation, clarity, and sharpness adjustments to eliminate fringes. Holding the Alt key lets them visualize their changes before committing. This method isn’t as precise as the others — it’s primarily useful for large-scale or severe color artifacts.
Preventing Chromatic Aberration in the Future
While fixing chromatic aberration is straightforward, it unnecessarily adds a lot of time to projects. Once photographers figure out how to fix chromatic aberration, they should revisit the causes to determine what creates it in the first place. This way, they can alter their approach to make this effect less likely.


Leave a Comment