

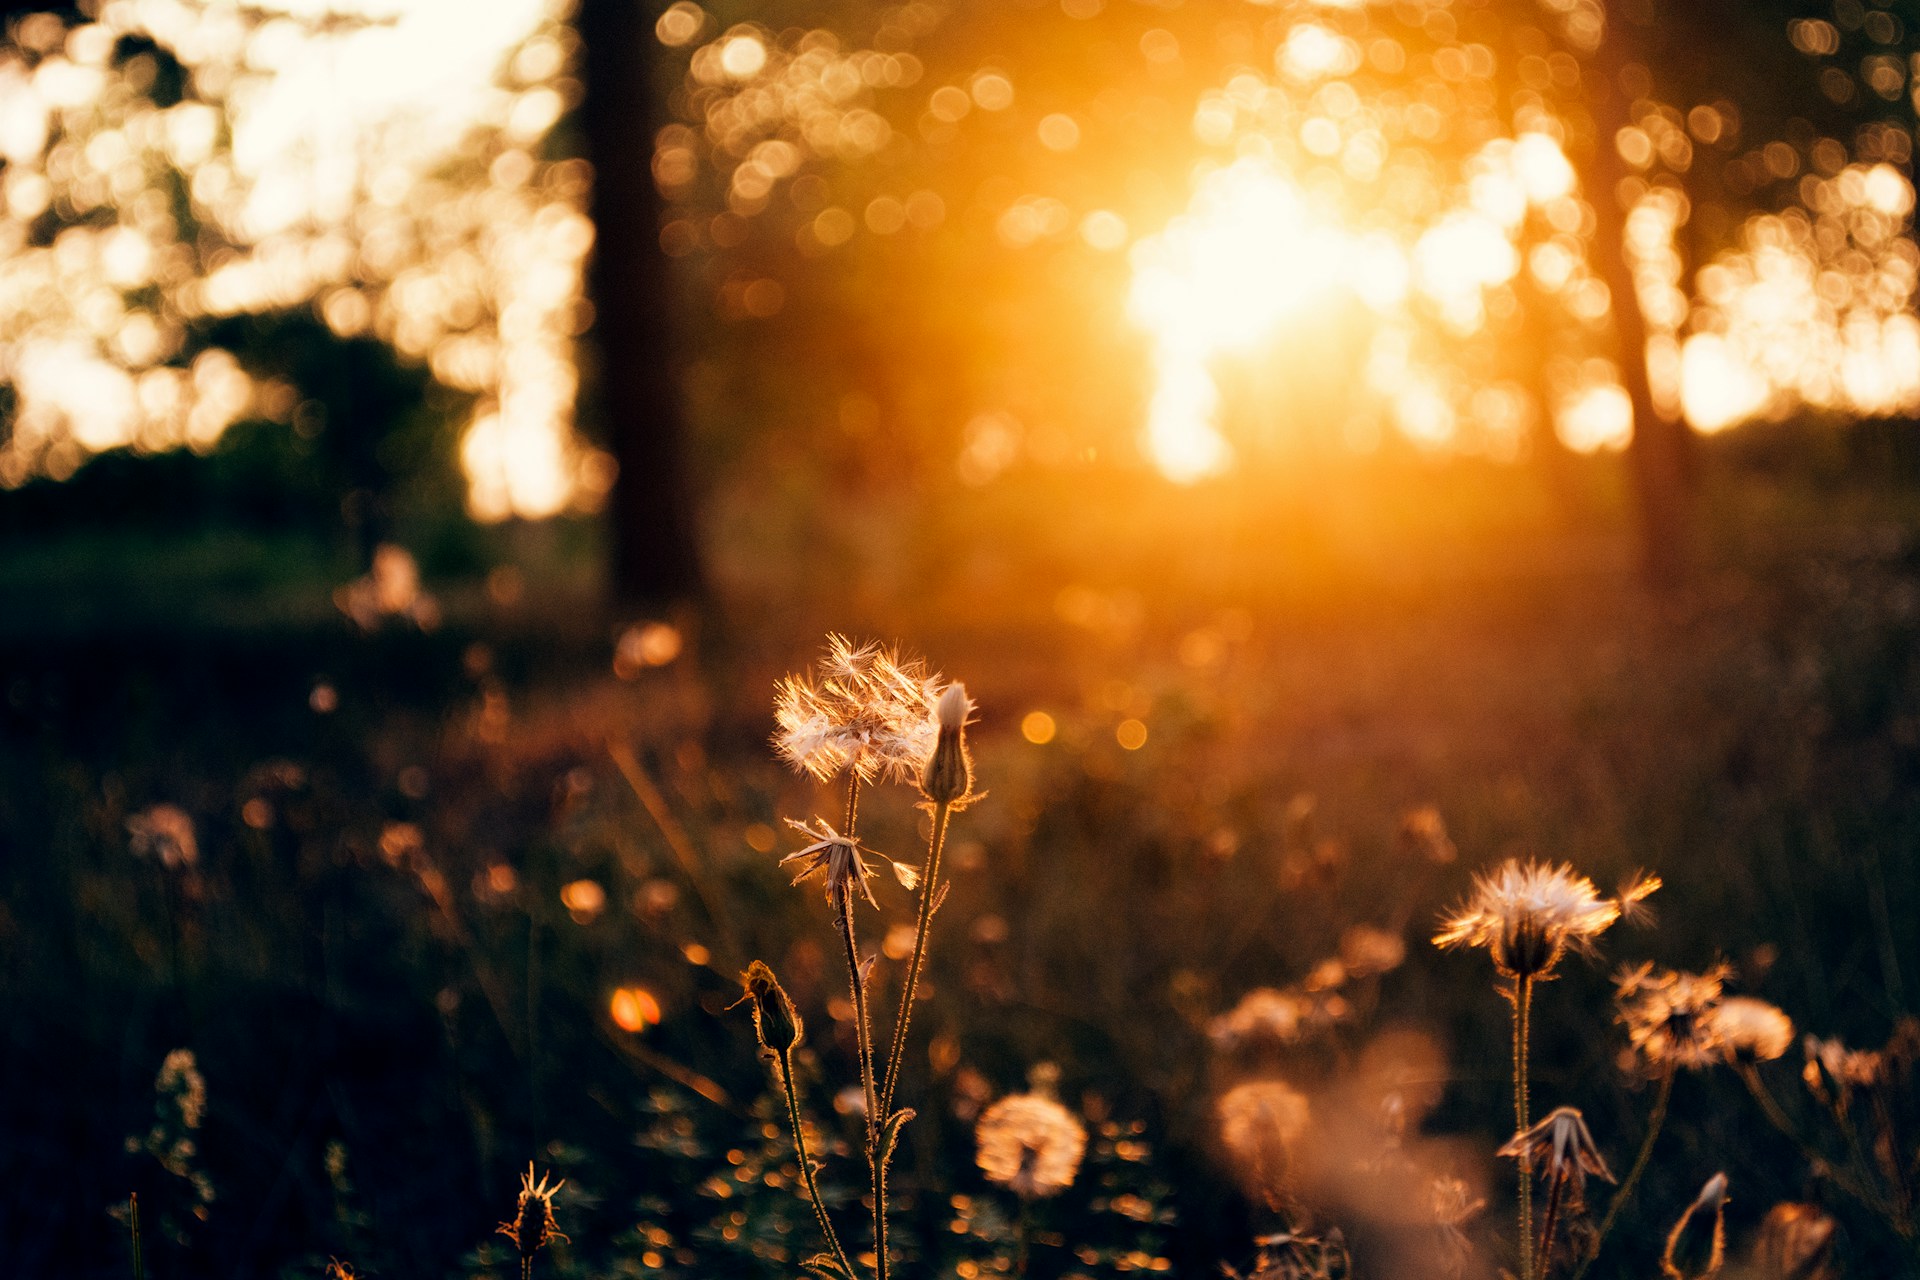


The golden hour is one of the most beloved times of day for photographers, models and anyone else who wants to take a beautiful, eye-catching photo. Photos taken during golden hour, also known as the magic hour, often look natural and flattering, with gentle highlights and long shadows that add depth.
Unfortunately, though, not everyone can capitalize on the golden hour. Adverse weather conditions, busy schedules and the unpredictability of outside photography can all make it difficult to make the most of this limited but precious time. Thankfully, there are modern editing tools and methods people can use to recreate the golden hour from the comfort of their home or at any time of day.
What Are Shadow Overlays?
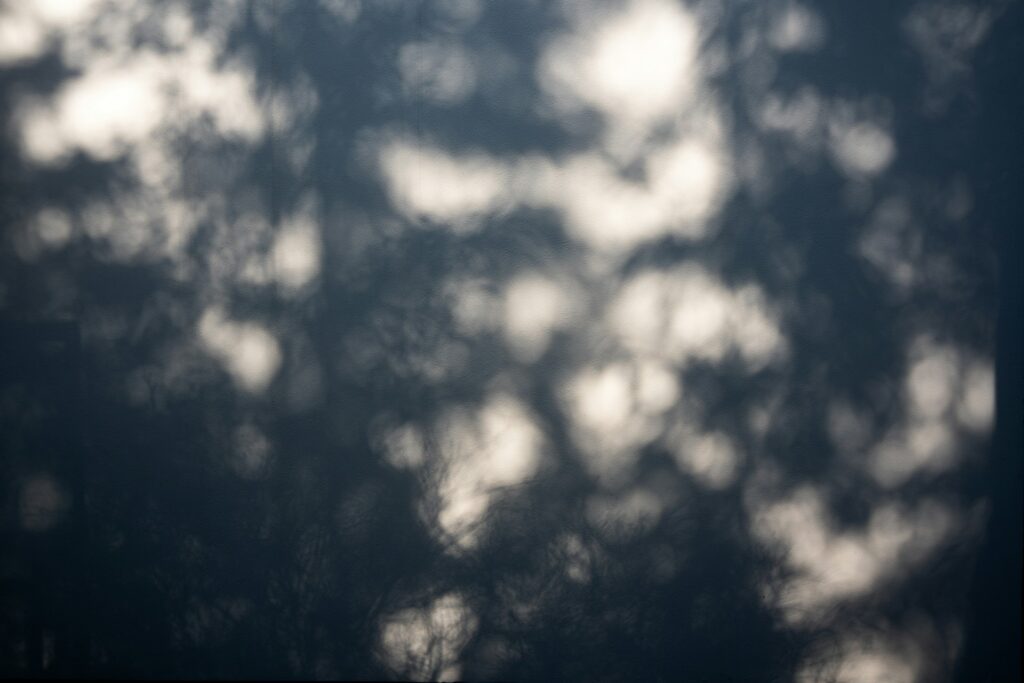
Shadow overlays are visual elements that can be placed on top of an image during editing. They may be PNG or JPEG files that contain shadows, light patterns or textures. These overlays can mimic appealing natural visuals, such as sunlight coming through a window or shadows cast by leaves.
Shadow overlays reduce reliance on color adjustments and allow photographers to shape how light appears in an image. This type of editing can make photos look less flat, add dimension, guide the viewer’s eye, evoke mood and even make photos look more realistic in some cases.
Many modern tools, like Canva and Adobe Photoshop, can be used to create shadow overlays thanks to features that let editors add layers, blend images and adjust opacity.
What Is the Golden Hour Effect?
The golden hour effect is a photo taken during the period shortly after sunrise or before sunset, when sunlight is soft and diffused. Photographers often try to recreate this look in editing, as it can instantly improve image quality, add mood and reduce harsh contrasts.
Editing a photo to emulate the golden hour effect typically involves:
- Increasing warmth via temperature and tint.
- Softening highlights.
- Adding gentle contrast.
- Introducing directional lights and shadows.
Why Combine Shadow Overlays With the Golden Hour Effect?
Creating a golden hour effect with only temperature, tint and contrast adjustments can make a photo appear orange or unnatural. This can lead people to think the photo is AI-generated, harming the reputation of the person or business that posted it.
It is important not to get lost in the warm glow of the magic hour effect when emulating it. The golden appearance is the effect’s standout feature, but there is far more to successfully recreating a golden hour effect in photographs. Golden hour also changes how light interacts with objects and can create appealing shadows.
A golden hour effect that neglects how the low sun would affect the entire photo will be ineffective and look unnatural.
Step-by-Step Guide to Creating the Golden Hour Effect
Here are the key steps photographers need to take to use shadow overlays to create a golden-hour effect.
1. Choose an Appropriate Photo
Ensure a golden effect can be realistically applied to the photo by selecting one that has good lighting and clarity, ideally natural light. Also, make sure it makes real-world sense for a golden effect to be applied, so avoid images where the sun is visibly high in the sky.
2. Adjust the Warmth
Open the image in an editing tool like Adobe Photoshop and increase the temperature slightly to add warmth. Adjust the tint toward yellow or orange tones until you find a natural-looking sweet spot.
3. Soften the Highlights
Lower the highlights and slightly raise the shadows. This creates a soft, diffused look typical of golden hour lighting.
4. Add a Shadow Overlay
Import a shadow overlay into the editing software and place it as a new layer on top of the existing image. There are countless types of shadow overlays to choose from, with some of the most common and appealing being leaf shadows for outdoor shots and window shadows for indoor shots. Choosing an overlay that matches the environment helps maintain realism and prevents the edit from looking artificial.
5. Adjust Opacity and Blending
Reduce the overlay’s opacity to make it look natural and subtle. Experiment with the blending modes the editing tool offers. Multiple and Soft Light are particularly helpful if the tool has them.
6. Match the Light Direction
Ensure the shadows fall in a direction that makes logical sense. Consider the source of the light and make sure the shadows align correctly.
7. Fine-Tune the Colors
Adjust the color balance, contrast and exposure after the overlay has been added. Find a balance that makes everything blend smoothly, looks natural and gives the photo an appealing golden hour effect.
Tips for Getting the Best Results
Editing ensures photographers don’t have to wait around for the sun to be between six degrees below and six degrees above the horizon to get the perfect golden hour photo. The following tips can ensure photographers can get the process right every time.
Keep It Subtle
Do not overuse overlays and warmth. Doing so can make images look unnatural and potentially AI-generated or overly-edited. Small adjustments that enhance an image should be the target, rather than edits that stand out. Remember that the goal is to enhance an image by highlighting its best qualities and hiding any blemishes, not to get lost in showing how much time has been spent editing. Ideally, a photo should not look edited.
Use High-Quality Overlays
Low-resolution overlays will make an image look blurry and badly edited. Ensure all overlays are clear and do not have an obvious quality difference to the image.
Match the Environment
Think about where the golden hour effect’s light source will be and how it will affect shadows and highlights.
Avoid Over-Saturation
Golden hour lighting should appear warm and glowing, not like the yellow or orange tint that can come from oversaturation. Avoid intense colors altogether.
Experiment and Adjust
Every photo is different. There is no one-size-fits-all advice to nail a perfect golden effect, and following the seven principles of design isn’t enough.
Getting shadow overlays and golden hour effects right will require a new creative process each time, with a lot of effort needed for experimenting and adjusting overlays, angles and settings until the image looks its best. Golden hours can also produce additional effects, such as rim light and flare, which can be experimented with.
Get Eye-Catching Golden Hour Effects, Every Time
Getting a perfect golden hour effect no longer requires a tight schedule and ideal weather conditions. Thanks to shadow overlays and other editing techniques, photographers can recreate the soft and warm lighting of the golden hour in countless photos.
Learning how to combine color adjustments with realistic shadows can transform ordinary images into something more visually engaging, without making them look obviously edited.


Leave a Comment