

In This Article
The education industry is on an upward trajectory. Parents want their children to excel, so they are seeking supplemental courses, tutoring and private online education options. Whether you want to offer drip courses, memberships or coaching, there are plenty of WordPress plugin options.
Designerly staff spent time looking at what’s out there, including free options. After careful consideration that most of our readers are small business owners on a tight budget, we narrowed the list down to three contenders. Ultimately, Tutor LMS won out because they offer a free version of their software.
Utilizing a tutoring plugin helps creators get their courses online and manage everything from their website. Although learning management systems, such as LearnDash offer more features, they also are pricier, making it more difficult for small businesses to get started. With Tutor LMS, you can start for free and upgrade as it makes sense for your revenue model.
Tutor LMS Features
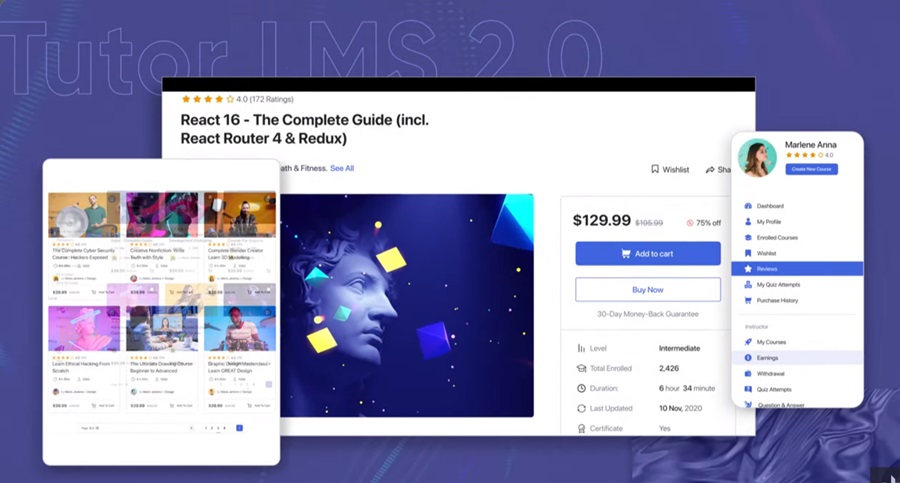
Tutor LMS comes from Themeum, the same folks who created WP Page Builder, WP Crowdfunding and numerous WordPress themes.
Some of the best features of Tutor LMS include:
- A drag and drop course builder you can access from the front end
- Add quizzes
- Features like course content drip
- Offer course bundles
- Host a live class
- Personalize student dashboard
- Works with mobile
Tutor LMS has dozens of online tutorials and support to help you work through any snafus or setup issues so you can hit the ground running in a fraction of the time.
Statista predicts the online education market will hit $87.51 billion in 2024, with an annual growth rate of 11.05% through 2028. As more teachers and students turn to online learning, expect the features to increase and the cost of LMS to come down.
Cost of Tutor LMS
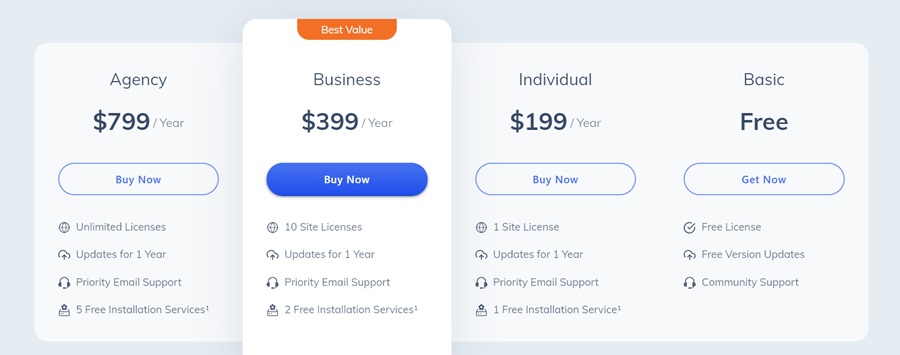
One of the reasons we selected Tutor LMS over the other options was their Basic package offering a free option for those just starting out. The basic package comes with some truly terrific features, such as unlimited courses, content protection, ratings and reviews and video options.
If you want to upgrade to the individual package for a single site, you’ll pay $199 for the year, including priority email support, or $499 for lifetime upgrades and support.
The individual package brings you a single site license and these perks:
- Frontend course builder
- Drip course content
- Course preview feature
- Adding attachments to courses
- Multiple-instructor options
- Automated grading
- Advanced quiz building
- Analytics
- Push notifications
- Announcements to students
- Pre-built email templates
You’ll also gain numerous addons, such as gradebooks, Google Classroom and Zoom integration and WooCommerce subscriptions.
Here at Designerly, we often push the advantages of cutting costs where you can, particularly as you build your business. The Tutor LMS basic version may offer what you need to hit the ground running. You can always upgrade after you’ve secured a few students and it makes sense to pay a fee for additional options.
The higher packages are more for agencies offering multiple websites on different topics. Most small businesses will only need the individual license. Combine the software with a lovely WP teaching theme and you’ll be certain to have a site visitors will appreciate.
How to Install and Use Tutor LMS
Installing Tutor LMS is fairly straightforward. You can download the basic or pro version from the Themeum website. Navigate to your WordPress Dashboard/Plugins/Add New. You can then upload it from there.
If you want to use only the basic version to start, you can search for Tutor LMS and install directly from your WP dashboard.

Click on activate and you’re ready to move to the setup stage. You can also download from WordPress.org. You’ll see the plugin has more than 80,000 active installations and a 4.5 out of 5-star ratiing.
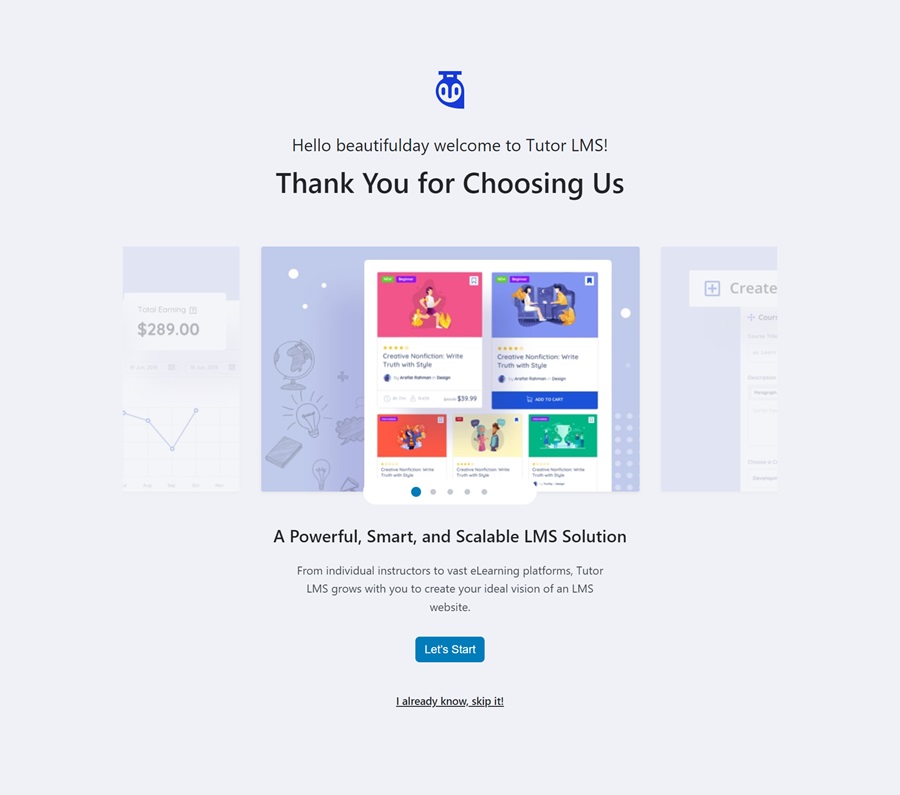
Once the program is installed and activated, you’ll see a welcome screen similar to the one above. You can click the blue call to action (CTA) button that reads “Let’s Start.”
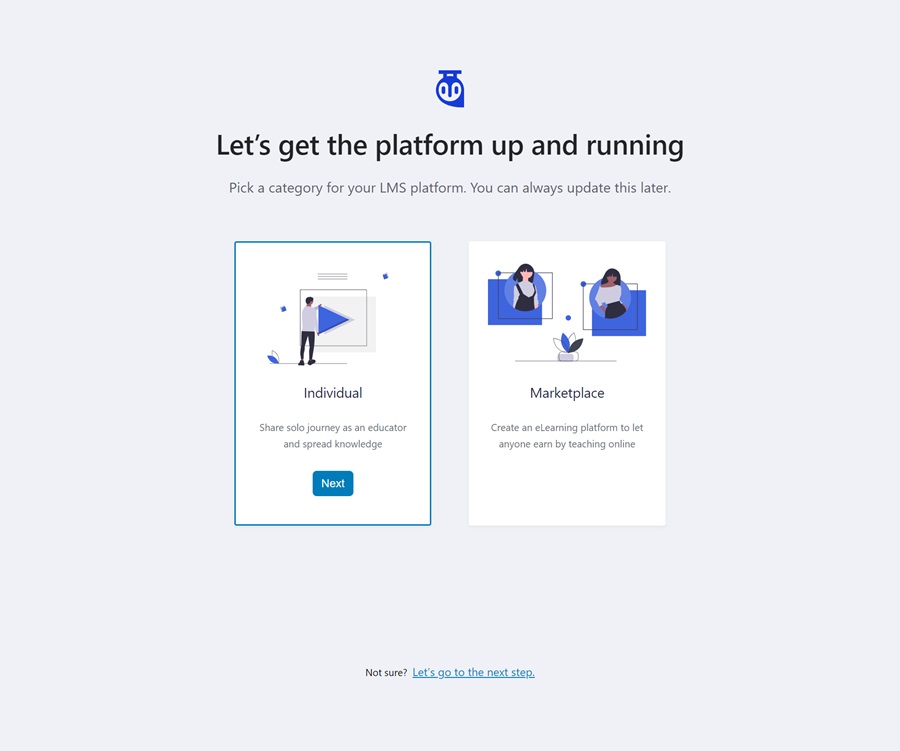
Next, you’ll be offered two options.
Individual
If you are a sole instructor offering courses, this is the right selection for you. This option is the right one for most beginning tutors/online instructors.
Marketplace
Do you dream of running an online school with multiple teachers? Select this option. Understand you may need to upgrade sooner rather than later to accommodate additional instructors on your site.
For the purposes of keeping everything free in the tutorial, we went with Individual as our option. If you want to set up multiple instructors, view the video linked above for additional details.
Step 1: General Settings
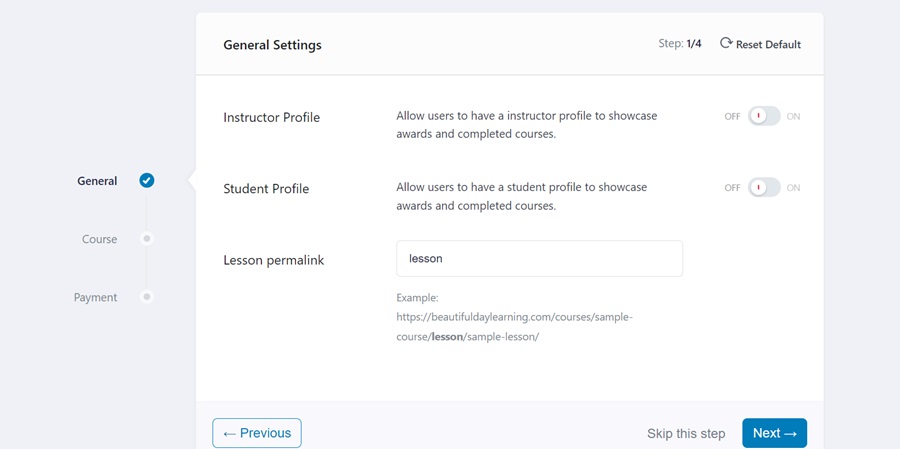
Under general settings you will choose whether to toggle on Instructor Profile, Student Profile and select a lesson permalink.
Step 2: Course Settings

Click next to move to Course Settings. Decide whether to show the instruction bio, allow for Q&A and how many courses will show per row on your landing pages as well as how many will show total on each page. Click the “Next” CTA button.
Step 3: Payment Settings

This page lets you set up how you’ll be paid for your courses. Under payment, you can set it up so an instructor can offer a course and get a percentage of the profits while you maintain a percentage for offering the platform. You also can choose the way you want to withdraw funds via:
- Bank Transfer
- E-Check
- PayPal
Setting Up a Course
Once you get the background elements in place, it’s time to add your first course. The process is straightforward. Click Add New and put in a title and description. You can even include a link to a promotional video or short sample of the course.
From there you can add lessons and quizzes under “Course Builder.”
Benefits and Drawbacks of Using Tutor LMS
As with any plugin, there are competitors out there. One might work better for your needs than another.
Cons of Tutor LMS
- Learning curve to set up courses
- Advanced features require a pricey upgrade
- Some reviews said support was poor
- Conflicts with other plugins
Pros of Tutor LMS
- Free version offers a lot of options for someone wanting to get a basic course up and running
- Course builder
- Quizzes
- Payment integration
- Individual profiles
It can be a bit bulky, so be aware you may need to do some other things to speed up your site and keep users happy. As an out-of-the-box LMS solution, it does a lot for free, though!
Should You Try Tutor LMS for Your Teaching Needs?
If you’re looking for a solid LMS program that won’t break the bank, Tutor LMS is a good one to start with. Try out the basic option and see what you think. You can always upgrade later and add additional features for your students.


Leave a Comment