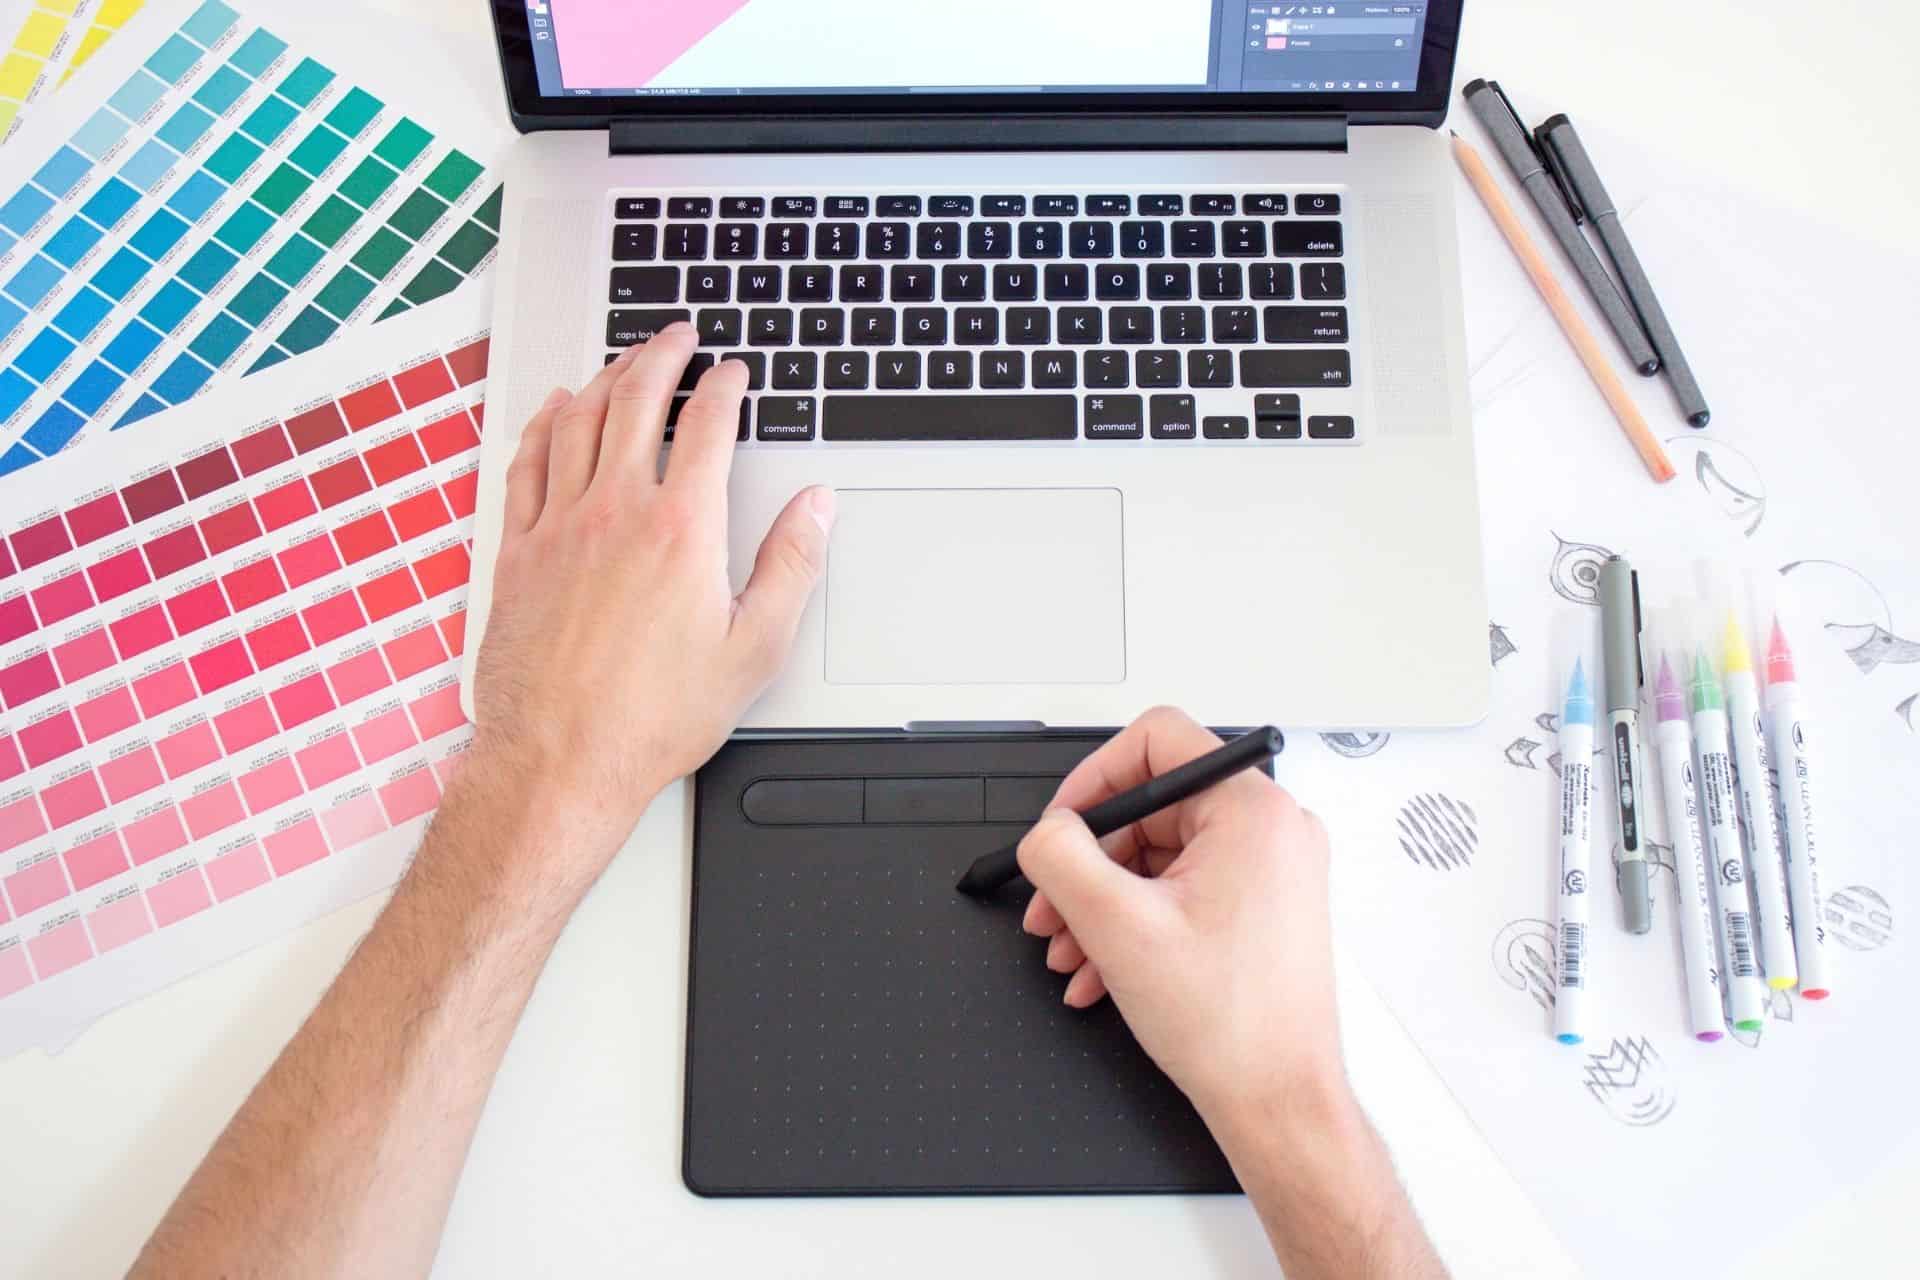


When you have a graphic design team, it’s important to know the design process steps. Essentially, a design process helps to save time and deliver better designs. When you establish one, you don’t have to think about the next steps each time you work on a new project.
Following this approach will help you focus on the more important aspect: the design.
What Is a Design Process in Graphic Design?
The process of design refers to the different steps of a design project. In other words, the design process helps you move from the ideation phase to the finished product. This might sound easier than you think. However, there’s much more to make the process as seamless and effective as possible.
With a design process, everything flows smoothly—and you and your team will be able to create designs much faster and more efficiently.
The 5 Design Process Steps
Whether it’s your first time creating one–or you’re refining an existing method, here are the five design process steps to keep in mind:
1. Creative brief
2. Conduct design research
3. Brainstorm design ideas
4. Create your design
5. Present the final product
1. Understand the Creative Brief
The first of the design process steps involves starting with a creative brief. This stage sets the tone for the entire project–and it’s one of the most important that will lead to the ideation phase when crafting a design.
A creative brief is a project breakdown to understand the scope and all that’s needed to help get started. First, you’ll lay the information out on a document and include all relevant details to get everybody on the same page.
Here are some examples of the following information to include in the brief:
- Company assets: Business logo, branding details, links to website and social media channels
- Project scope: This details what they’re looking for in terms of deliverables, such as timeline expectations and milestones
- Target audience: Who is their primary and secondary target markets?
- Objectives: What is the primary goal of this project? What is the purpose of the design?
- Budget
- Examples of similar work you like
- What the project should look like
- Competitors
- Due date
Consider going over creative briefs with your team and the client, especially if the project is complex. This will prevent any confusion and delays within the design process steps.
2. Conduct Design Research
Depending on the project’s scope, you’ll want to include as much useful information as possible in your creative brief. This will help minimize the time spent during the research phase. However, it’s still critically important for design teams to go through the research phase—since this will provide a better understanding of the audience during the creative process.
How does the research phase look? Consider the following:
- Researching competitors
- Gather inspiration on social media to understand which designs the audience engages with
- Gather all the knowledge you have and apply it to the project
During the design process steps, it also helps to create a mood board to get a better flow of comparisons.
3. Brainstorm Design Ideas
Before jumping into the project, allow your design team to brainstorm ideas for the presentation. Brainstorming is one of the design process steps that allow for creative exploration and minimizes frustration.
It is also one of the steps you should outline in your creative brief. If a project manager created the project brief, they might have concrete ideas for how the final product should look. If that’s so, it’s best to add relevant links to the brief for optimal transparency.
After the designer establishes 3-5 sketches, consider what message you want to send when creating a statement in the design. Then, you can decide which option to move forward with for the project. A presentation with a few ideas allows for a smooth design process and workflow—enabling you to get the best graphic design results.
4. Create Your Design
Now that the research and the brainstorming design process steps are complete, it’s time to start working on the design. It’s best to avoid starting your project completely from scratch. Consider how you created them in the past and let your inspiration help you move forward with the process.
It also helps to gain and apply feedback throughout the process. So, ensure that you’re checking in at the project’s most crucial parts (Outline, Core components and Final design).
5. Present the Project
Now that the design is complete, it’s time to receive the final files and put the product into action. In some cases, you may get a lot of revision requests, depending on the client. That’s why feedback is one of the most important steps to structuring it. Additionally, the input will allow you to speed up the process.
Once the client is satisfied with the work, you can finally unwind and send the invoice over to the client.
Final Takeaway With Design Process Steps
Take note that every situation is different. There’s no set-in-stone approach with the design process steps. However, creating a seamless workflow can undeniably impact the results you achieve.


Leave a Comment