
In This Article
From adding flair to product showcases to conveying emotions in storytelling, GIFs offer a dynamic way to enhance user experience. Understanding the art of creating these compelling, short, animated video clips can elevate your website’s aesthetics and drive conversions. Learn how to make a GIF with this guide, including step-by-step tips for maximum engagement.
What’s a GIF?
GIF stands for graphics interchange format, an increasingly popular file configuration supporting static and animated images.
Unlike JPEG or PNG formats, GIFs can contain multiple frames, creating a simple animation when displayed sequentially. Think of it as a series of images shown in rapid sequence to create a simple animation without sound. When you view a GIF, it cycles through these illustrations quickly, giving the impression of movement or a short video clip.
People commonly use GIFs on websites and social media platforms to convey emotions, demonstrate processes or add visual interest to content. There’s no need to press a button—GIFs play automatically in a continuous loop, making them a versatile and engaging medium for visual communication online.
How Do You Pronounce GIF?
The pronunciation of GIF has been an ongoing debate for years. Despite GIF creator Steve Wilhite officially declaring the diction as ‘JIF’ not ‘GIF’ in 2013, there’s still no consensus. Today, GIF is predominantly pronounced with a hard G, like guild or gander.
How to Make a GIF
Creating GIFs for your website is a pretty straightforward process and hardly requires any special design skills or qualifications. Before diving into the process, keep these prep tips in mind.
Define the Purpose
Clarify the purpose behind making a GIF. Are you highlighting a key benefit of your product, telling a short narrative or simply sparking curiosity? Defining the intended objective will guide the design and content of your animation.
Consider the Target Audience
Tailor your GIF to resonate with your target audience and grab their attention more effectively. Consider their preferences, demographics and interests when planning the visual and messaging elements of the GIF.
Set Goals
Establish measurable goals for your GIF, such as increased engagement, click-through rates or conversions. By defining these objectives upfront, you can track the media’s performance and assess its impact on your brand’s online presence.
Creating GIF Graphics on Canva
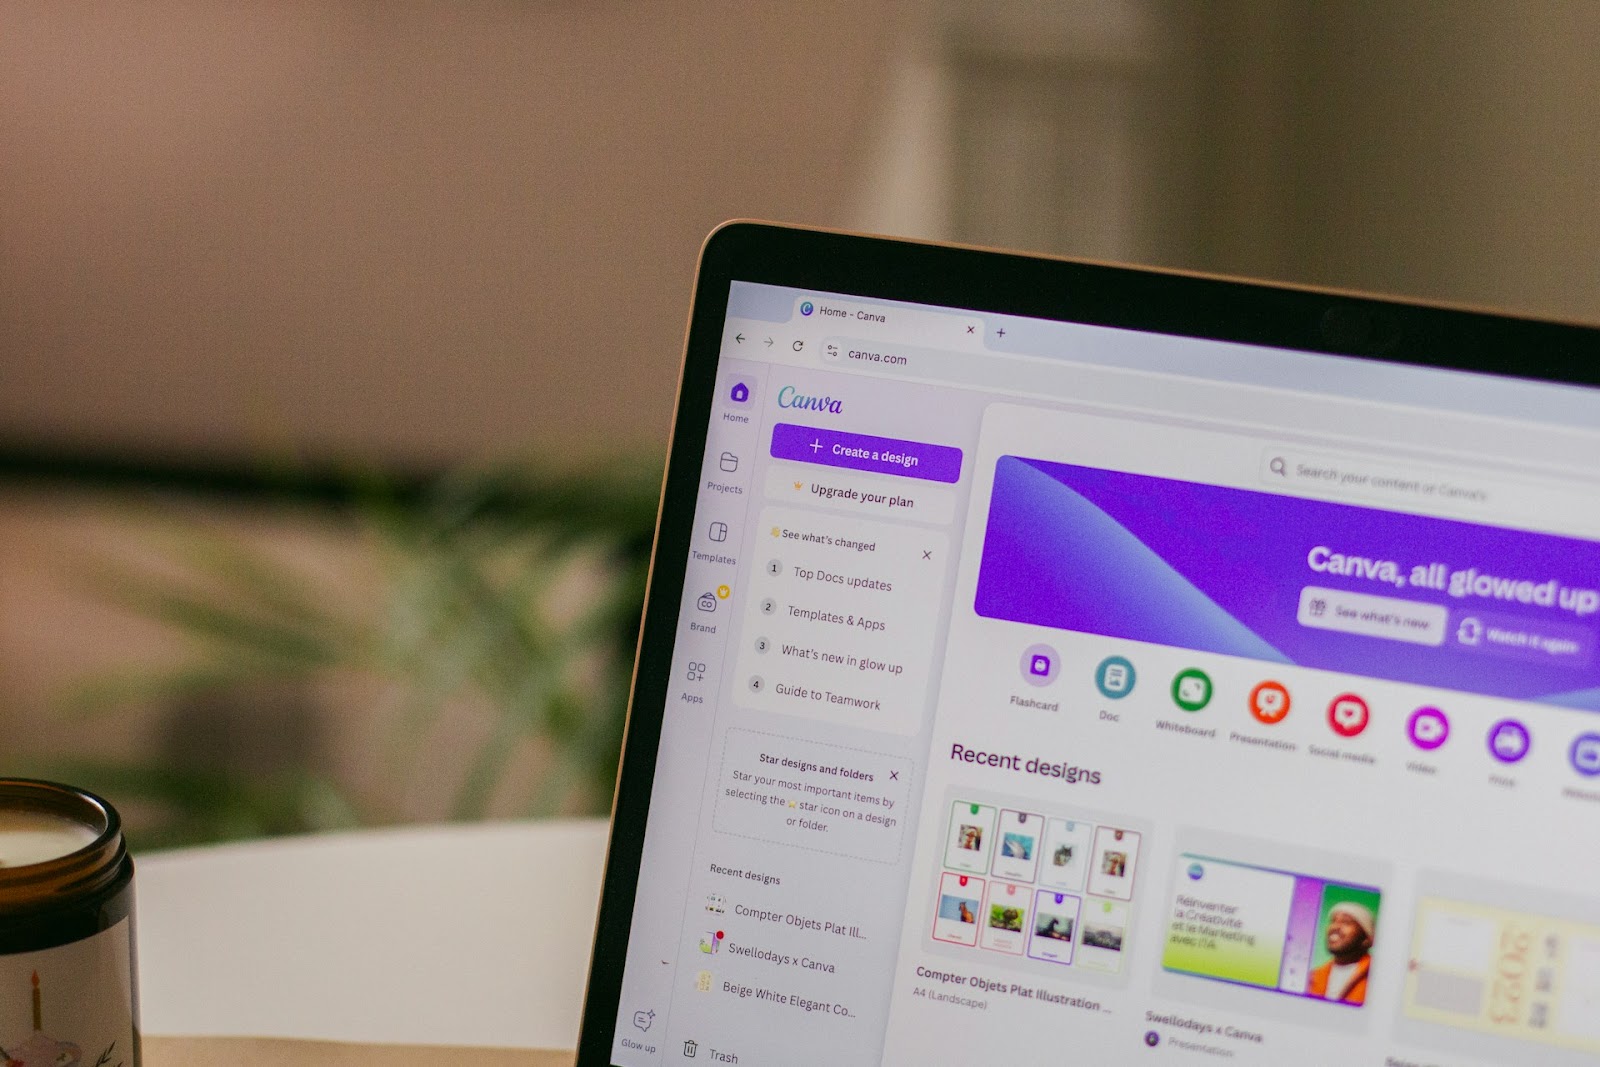
The process of making a GIF comes down to the tool you use. Here’s how to go about it using Canva.
1. Create a New Design
Open Canva in your web browser and log in to your account. Click the “Create a design” button and select the video editor option. Enter the dimensions for your GIF, ensuring it fits the intended placement on your website.
2. Design Your Frames
Upload any custom files for your project. Under the Elements tab, search for animated graphics and drag them to the frame. Adjust their positions accordingly, ensuring each element is legible and doesn’t seem out of place.
You’ll need to trim the clip if you uploaded a custom video. Add the next frame in the sequence, keeping the elements in roughly the same position so the animation isn’t too noticeable. Keep in mind the frame will not loop until you download it as a GIF.
3. Animate Stationary Elements
Canva offers various animation options like fade, slide, bounce and custom animations. Select the effect you want to apply to each frame. Adjust the timing and duration of each animation effect to control the speed and transition between frames.
4. Preview and Adjust
Click on the “Play” button to preview the animated sequence. Adjust the timing, transitions, or design elements to enhance the visual appeal and storytelling.
5. Download Your GIF
Once satisfied with the animated design, click the “Download” button. Select the GIF file format and quality settings for your animation.
Making GIFs on GIPHY
Designing a GIF on GiPHY follows a more streamlined approach, comprising only three primary steps.
- Upload the image(s)
- Edit the slideshow for the duration, captions, filters and other elements
- Finish your GIF and upload it to GIPHY to get the embed link
How to Make a GIF From a Movie
Converting a scene from a video into a GIF is all about having the right tools. For this guide, let’s use a browser extension called Chrome Capture.
Select the clip you want to convert into a GIF. Find the exact moment you want to capture and pause the video.
Click on the icon in your toolbar to activate the extension. You can select the area of the video player you want to capture. Resume playing the video and click the “Record” button to start capturing your GIF.
Click the “Stop” button when you’ve recorded enough. Edit the clip to insert captions or text overlays and adjust the playback speed to match the desired effect. Download the GIF file and share it online.
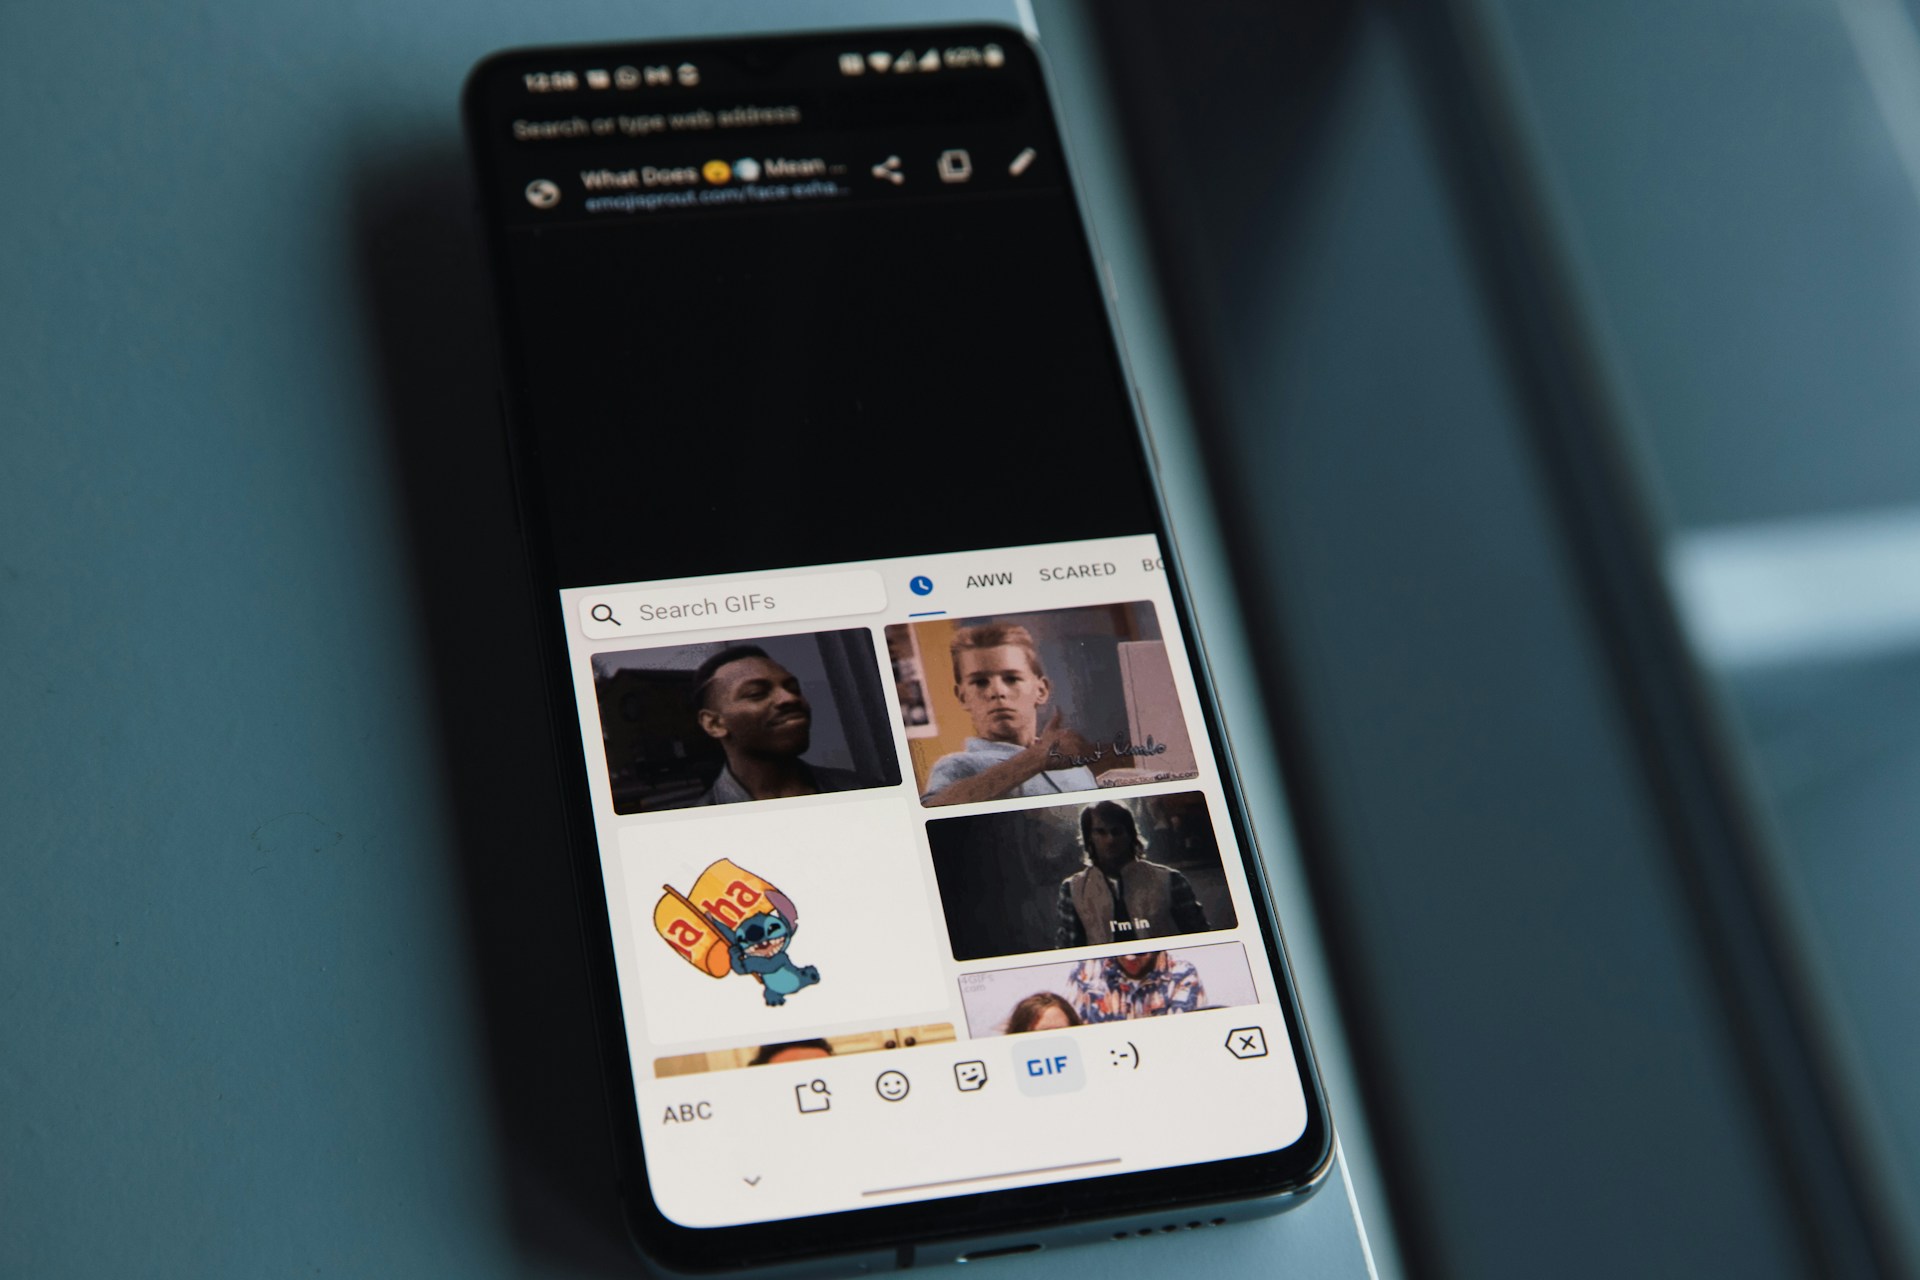
How to Make a GIF on Your Phone
If you’re looking for an even easier way to create GIFs for your website, you could always use your smartphone. Simply visit the App Store and download any GIF maker app with good reviews. For Apple users, ImgPlay and Ezgif are popular options with easy user interfaces.
Follow the on-screen instructions to upload your image or video and make the GIF. The procedures are somewhat similar at this stage, so just follow the prompts until completion. Save the file on your device and prepare to upload it to your site.
Keep in mind the output quality might not be on par with those designed on a desktop. Additionally, the process might be slower unless you’re using a powerful, more recent device. For example, the iPhone 16 Pro features an A18 processing chip capable of handling editing tasks up to 50% faster than its predecessor.
Embedding GIFs on Your Website
To use the GIF on your website, upload the downloaded GIF file to your website’s media library. You can also embed the GIF by inserting the appropriate HTML code in the desired location on your webpage.
Tips for Creating Great Animated GIFs
Creating compelling animated GIFs requires attention to detail and strategic planning to ensure they resonate with your audience. Follow these tips to enhance the quality and impact of your GIF creations.
1. Keep it Short and Simple
GIFs can be up to 15 seconds long, but experts recommend making them only around six seconds long. Keeping it short will make the animation loop quicker and hold attention better.
2. Use High-Quality Content
Prioritize high-quality source materials to ensure your GIFs are visually striking and engaging. Blurry or pixelated GIFs can detract from the viewing experience and make your content appear unprofessional.
3. Incorporate Text and Captions
Enhance the clarity and messaging of your GIFs by adding text and captions. Provide context or include a witty comment to engage viewers and convey your message more effectively.
4. Mobile-First
Design GIFs to be accessible on all screen sizes but mainly on mobile devices. More and more people access websites on their phones, so you want to ensure a seamless viewing experience.
5. Experiment with Tools and Techniques
Explore a variety of tools and techniques to create unique and captivating GIFs. Experiment with different software, apps and editing features to discover what works best for your content and style.
Become a GIF-Making Pro in No Time
Animated GIFs offer a unique way to convey information and express emotion in a way that still images and text simply can’t match. Utilize them in your design arsenal to help your brand stand out and increase the chances of your content going viral.

Leave a Comment