

The logo design process can be challenging to define since each graphic designer has an individual approach to logo creation.
For some, it can be a systematic process where they spend a certain amount of time on each step. For others, it may be that they wait until inspiration ignites.
Whatever your process, it’s important to find the one that works. However, below is a general outline of the logo design process — you can use it as you please. Whether you decide to skip a step or use the entire strategy, at least you have a good idea of where to start.
Here are the seven steps to the logo design process.
1. Discover the Client’s Brand
The discovery phase is about getting to know your client. There’s no one-size-fits-all approach to this. But generally, you need to find out your client’s background and business.
A logo is a representation of the business. Therefore, understanding the business’s goals and what the brand embodies is a crucial part of the process.
In this stage, it helps to aim for every bit of insight. To get started, here are a few general questions to ask your client:
- What problem do you want to solve?
- What adjectives would you use to describe your brand as a person?
- What is your brand’s tone of voice?
- What are your core values and beliefs?
- What is your company’s unique value proposition?
- How would you want customers to describe your brand to others?
At the end of your discovery call, you should have a better intake of the brand, helping you brainstorm logo concepts for later.
2. Research the Competition and Industry
The next step in the logo design process is to gather more information about the client’s industry. Use your research to analyze it in detail to help you conclude the logo.
Conducting your research is beneficial because it gives you a picture of the client’s environment and places you in their shoes.
The easiest way to accomplish this is to look at it from the customer’s perspective and get a feel for their experience with the organization. Stepping in this direction will help you avoid mistakes later in the process.
Next, you’ll need to gain insights from the company’s competitors and evaluate their strong and weak points.
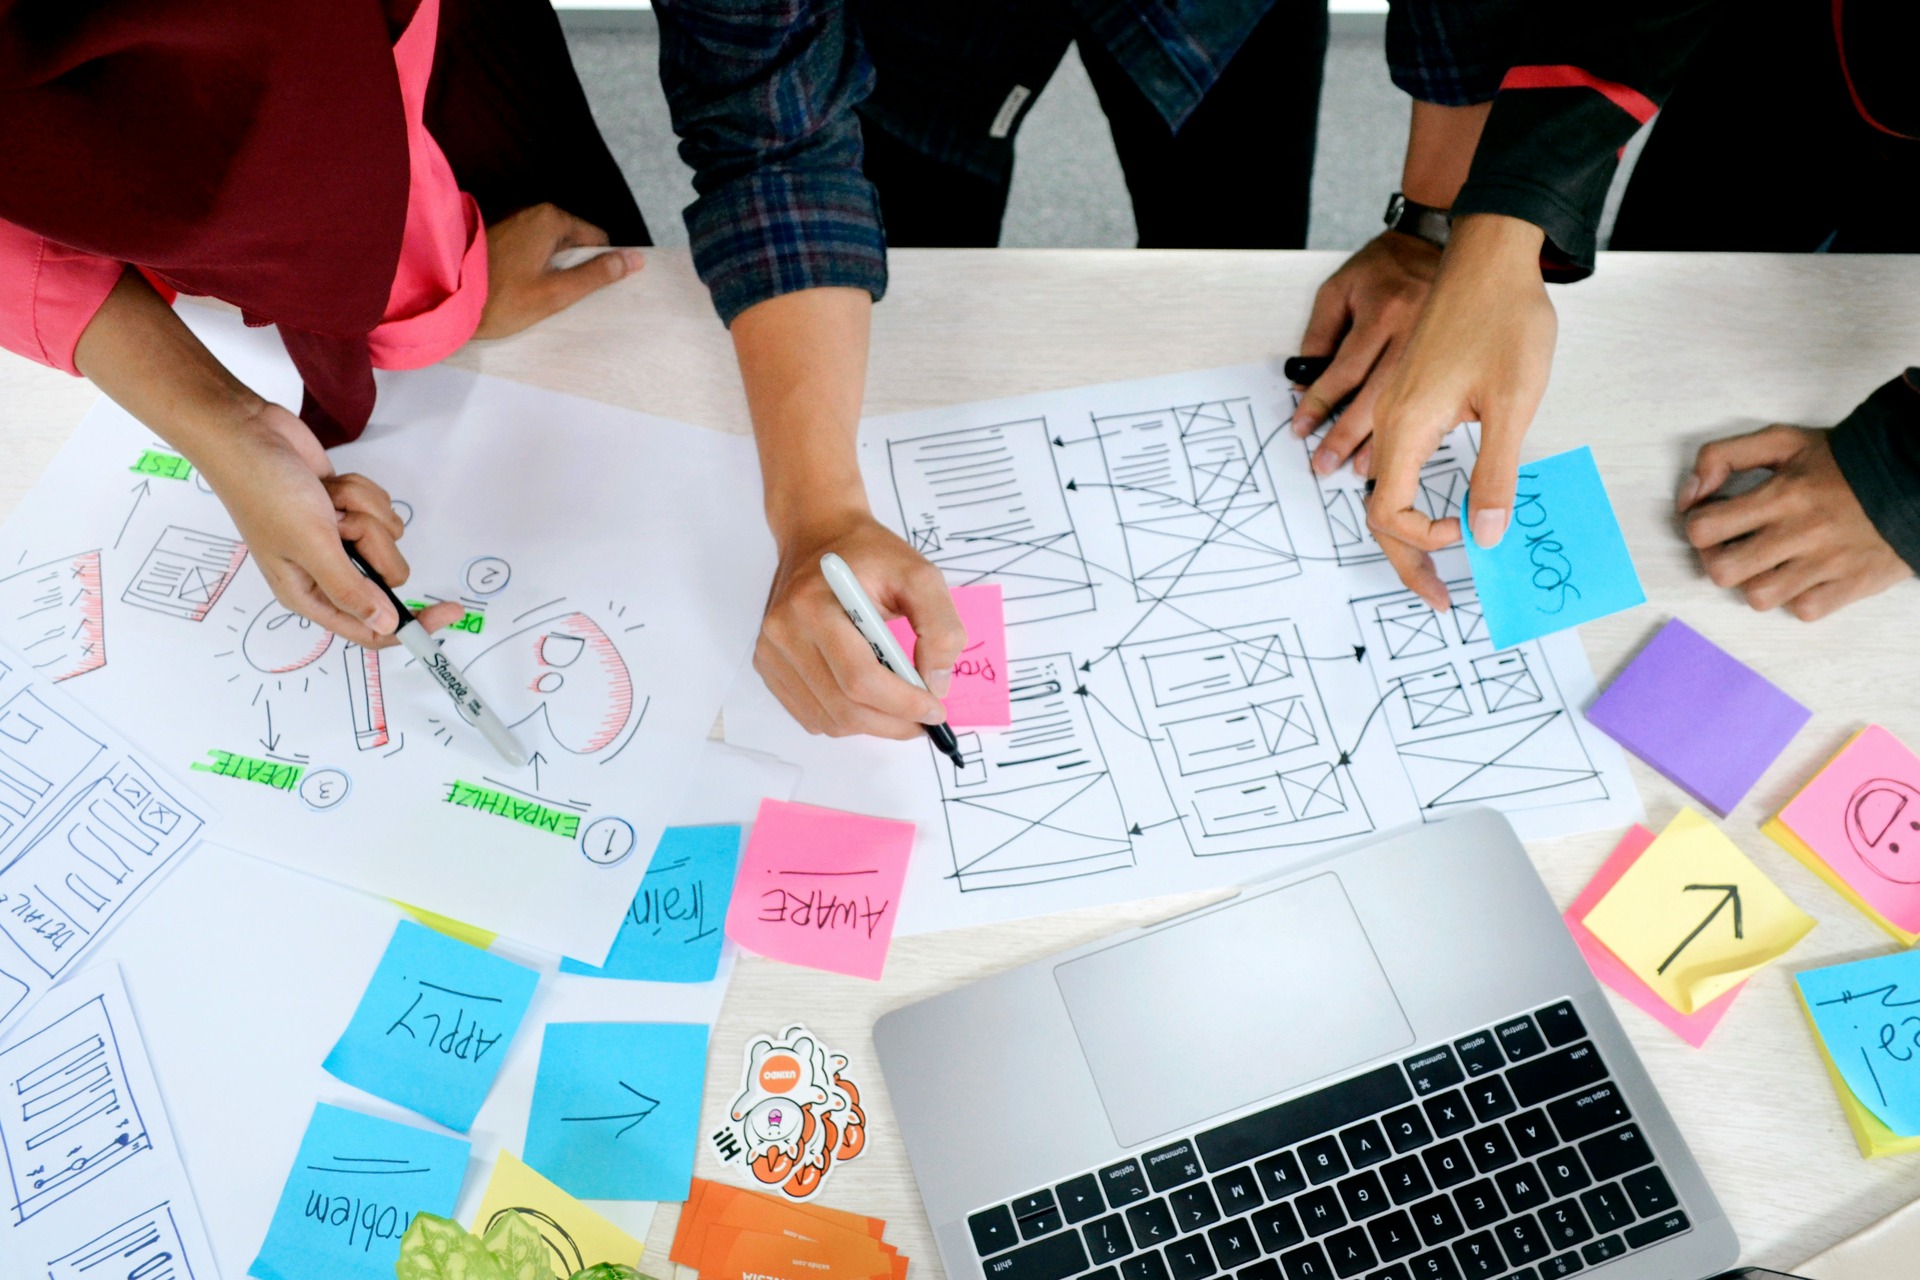
3. Brainstorm Ideas
The brainstorming stage is crucial because it helps you think through all the possible directions in design.
You can use the information you’ve gathered in the first step to help you brainstorm ideas and create a few mood boards.
One simple strategy is using Pinterest or Dribble to find key visuals for inspiration. Ensure you use the mood boards to gather the font, style, color, etc.
Once you create a few different ideas, you can discuss the possible solutions with your client and determine which direction to go from there.
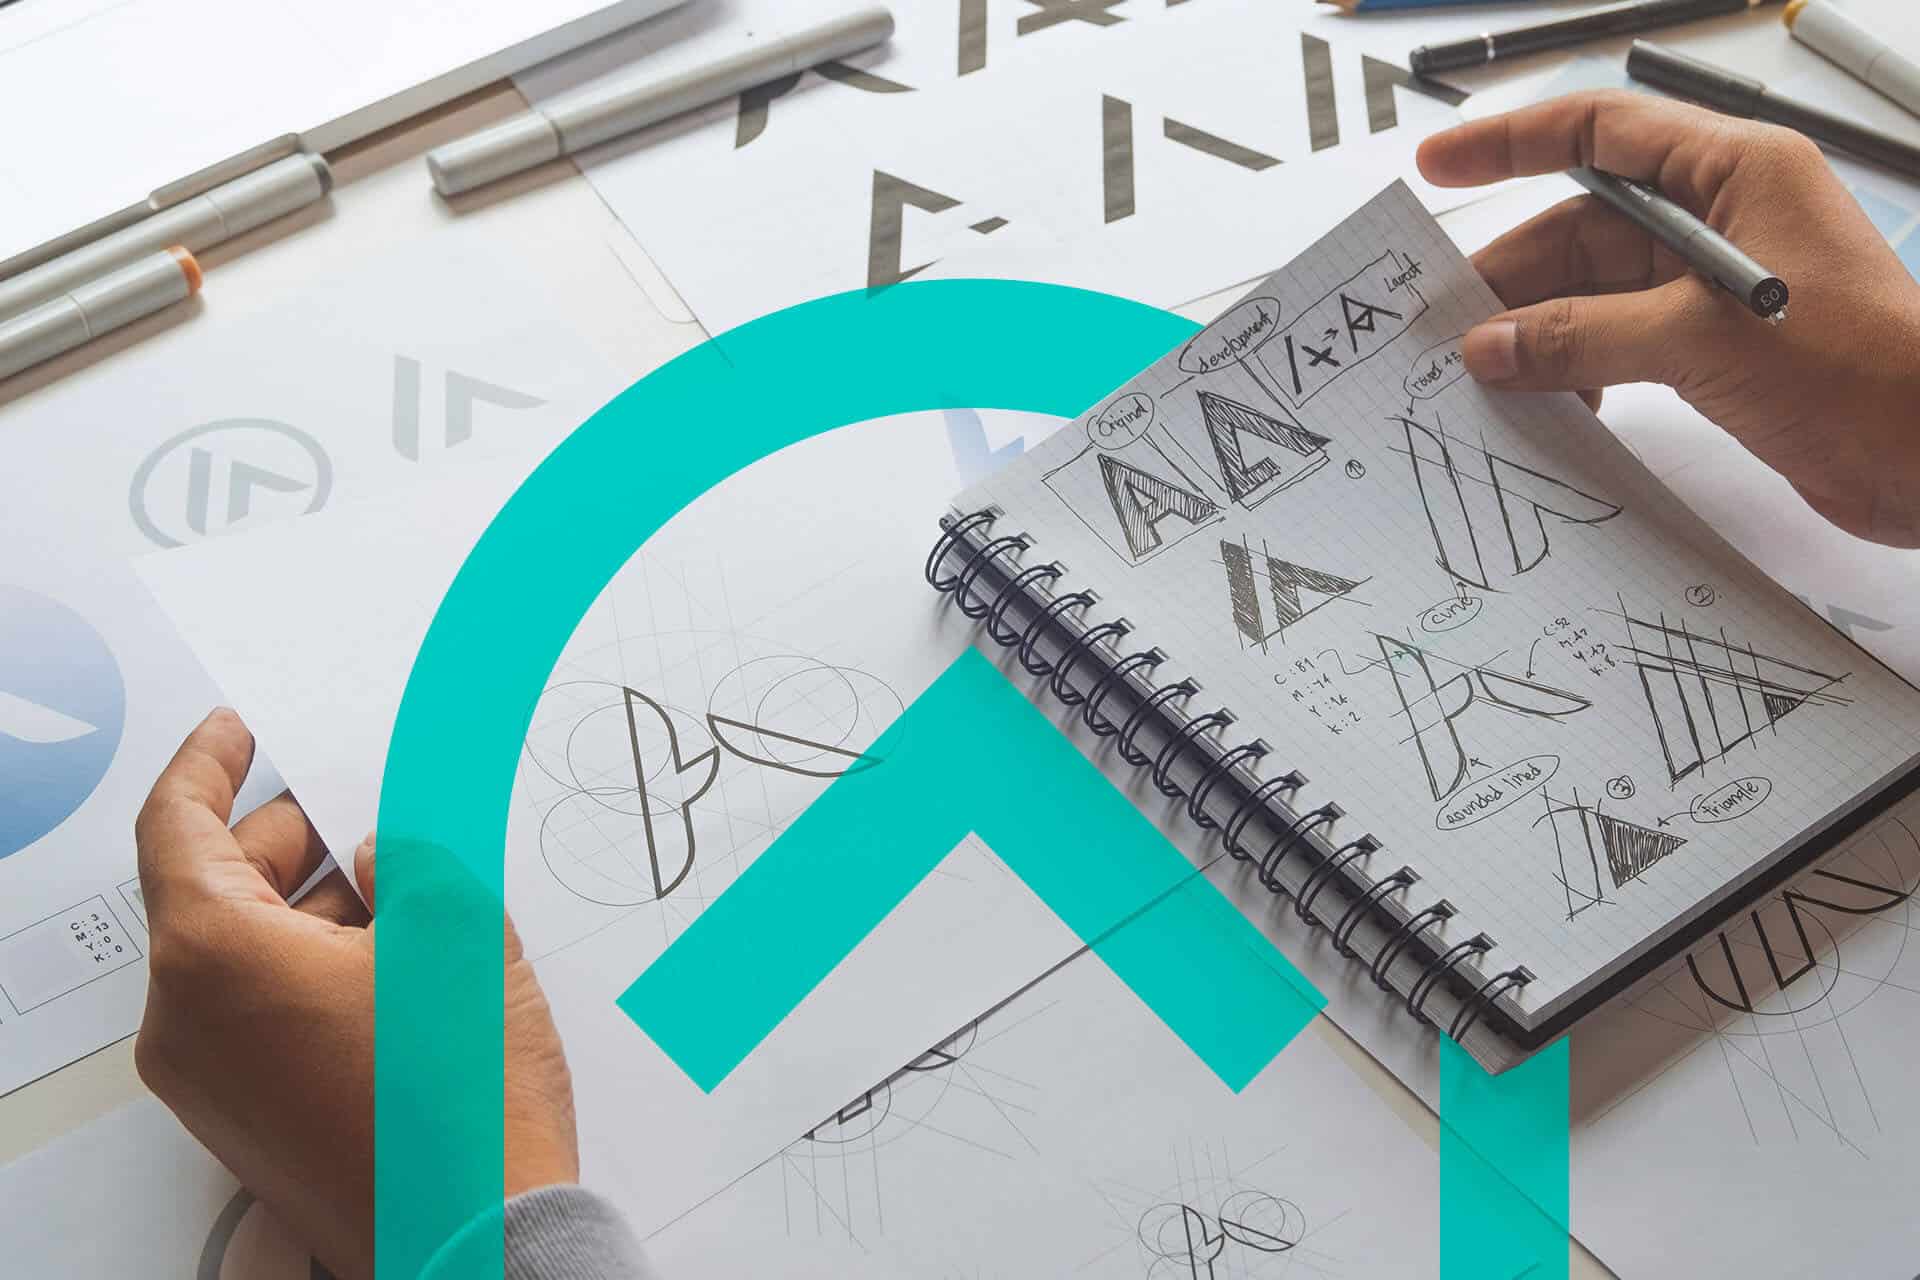
4. Draw Concepts
Now that you’ve done your homework, you can start sketching your logos by hand or in your design program – depending on your preference.
Either way, you can start sketching various concepts to help you see what fits. You can mix and match certain elements. However, it’s always a good idea to gather more than one concept so you can present them to your client.
Once you’ve settled on a few concepts, ensure you draw a few variations by adding or removing elements and changing minor details.
5. Draft Your Designs In Digital Software
From the sketches you’ve created, pick out three of your best ones and develop them in design software that helps you work productively. This part will help you make design decisions you couldn’t create in the sketch phase.
For example, you can experiment with colors and typography in your logo. Once you’ve created a solid draft, you can start presenting them to your client.
Consider making a presentation of your variations alongside the brand’s imagery and mockups. This is to communicate your vision so the client sees the idea you have in mind.
6. Follow Feedback and Refine Your Design
Even though you’ve presented a few ideas, your client will likely have requests for changes. That is something to expect, especially when you’ve worked on the same image for days.
Having a fresh pair of eyes is always good to reveal any room for improvement. You could even encourage the client and co-workers for their constructive feedback to gain further insight.
Once you’ve gathered your information, you can tweak it using your best judgment. Remember, it’s best to use feedback that helps the logo represent the brand.
7. Deliver the Files
Once you’ve finalized your logo, you can deliver it to your client.
You should have already determined what files the client needs in the first step. However, it’s best to have these requirements in general:
- Layered source vector
- Layered EPS or PDF file
- High-resolution raster files and PNGs with transparent backgrounds
Ensure you include basic variations of the new logo by including full color, black, white and monochrome. You should also consider creating a style guide specifying other brand identity elements, including color palette, typography, photography, illustrations and any other parts.
Including all the brand information in the style guide ensures that your logo is used correctly and increases their confidence in the brand vision.
Implementing the Logo Design Process
Good logos don’t happen by chance. They result from strategic thinking, collaboration, exploration, failure and starting again.
Every detail you create for your logo will impact the impression it carries on customers. Even though your logo may not resonate with everyone, your logo design process provides you with the best possibility to bring the brand vision to life.

Leave a Comment